Capture Stunning Moon Photos with Your iPhone Without Special Equipment
Have you ever looked at the moon and wanted to take a picture with your moon phone iPhone? Moon photography is a fun challenge, and your iPhone can help you achieve great results. New features like bigger sensors and better low-light capabilities make your phone even more effective. However, you need to understand your camera settings and techniques. If you don’t, you might end up with blurry pictures instead of stunning ones. So, let’s explore moon photography and discover what your iPhone can truly do!
Key Takeaways
Use a tripod to hold your iPhone still. This stops blurry pictures and lets you take longer shots.
Change your camera settings. Turn off the flash. Turn on HDR. Use manual focus for clearer details.
Pick the best time to take moon pictures. Try during twilight or when the moon rises for amazing results.
Try different apps like ProCam and YouCam Perfect. They help you edit your moon photos better.
Practice often to get better. This helps you show the moon’s beauty in all its glory.
Preparing to Photograph the Moon
Essential Gear for Moon Phone iPhone Photography
Before you take pictures of the moon, get some important gear. This will make your photography better. Here’s what you need:
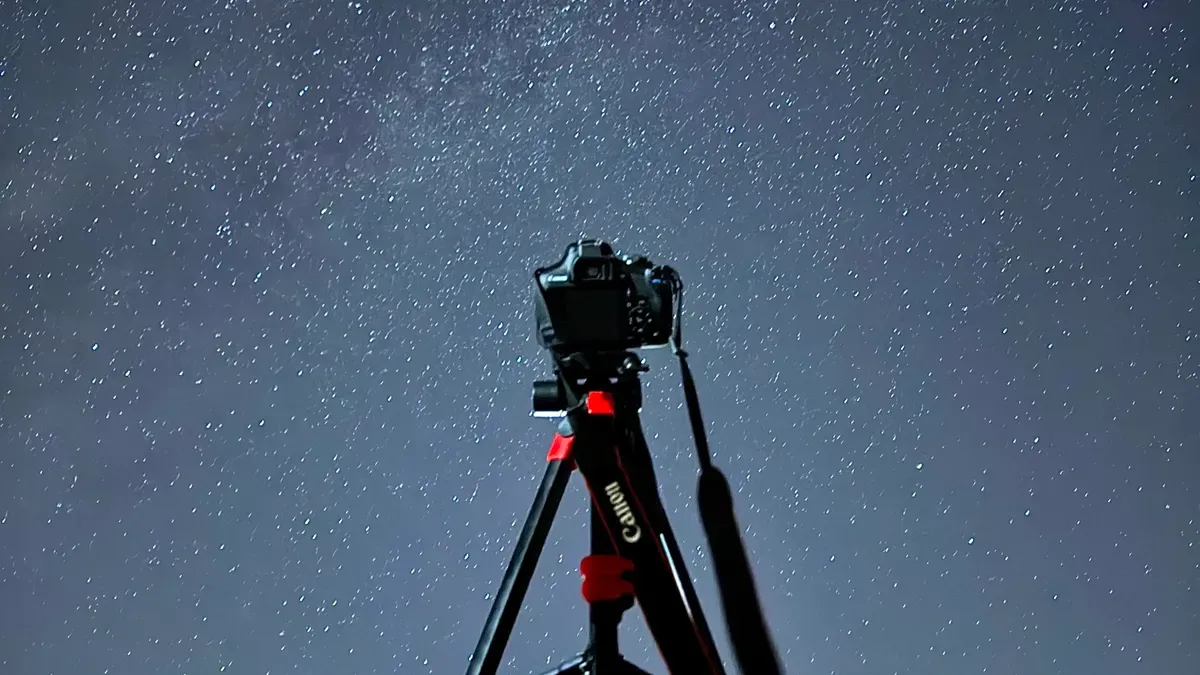
Tripod: A strong tripod keeps your iPhone steady. This helps you take clearer shots. It is very important for moon pictures to avoid blurry images from shaky hands.
Additional Objects: Think about adding interesting things in the foreground. This can make your moon photos more interesting and give them depth.
Adjustable Angle: Make sure you can easily change the angle of your iPhone. This helps you take pictures of the moon from different views.
Using a tripod or resting your iPhone on a solid surface is very important for moon photography. A stable base allows for longer exposure times. This is key for getting detailed images in low light.
Key Settings for Capturing the Moon
Now that you have your gear, let’s look at the key settings to help you take amazing moon photos with your moon phone iPhone:
Turn Off the Flash: The flash can ruin your photo by making the moon too bright. Keep it off to keep the moon’s natural glow.
Enable HDR: High Dynamic Range (HDR) makes your images better. It helps the moon stand out against the dark sky.
Use the Grid and Level: Turn on the grid feature to help you line up your shot. This will help you place the moon correctly in the frame.
Here are some tips to improve your settings:
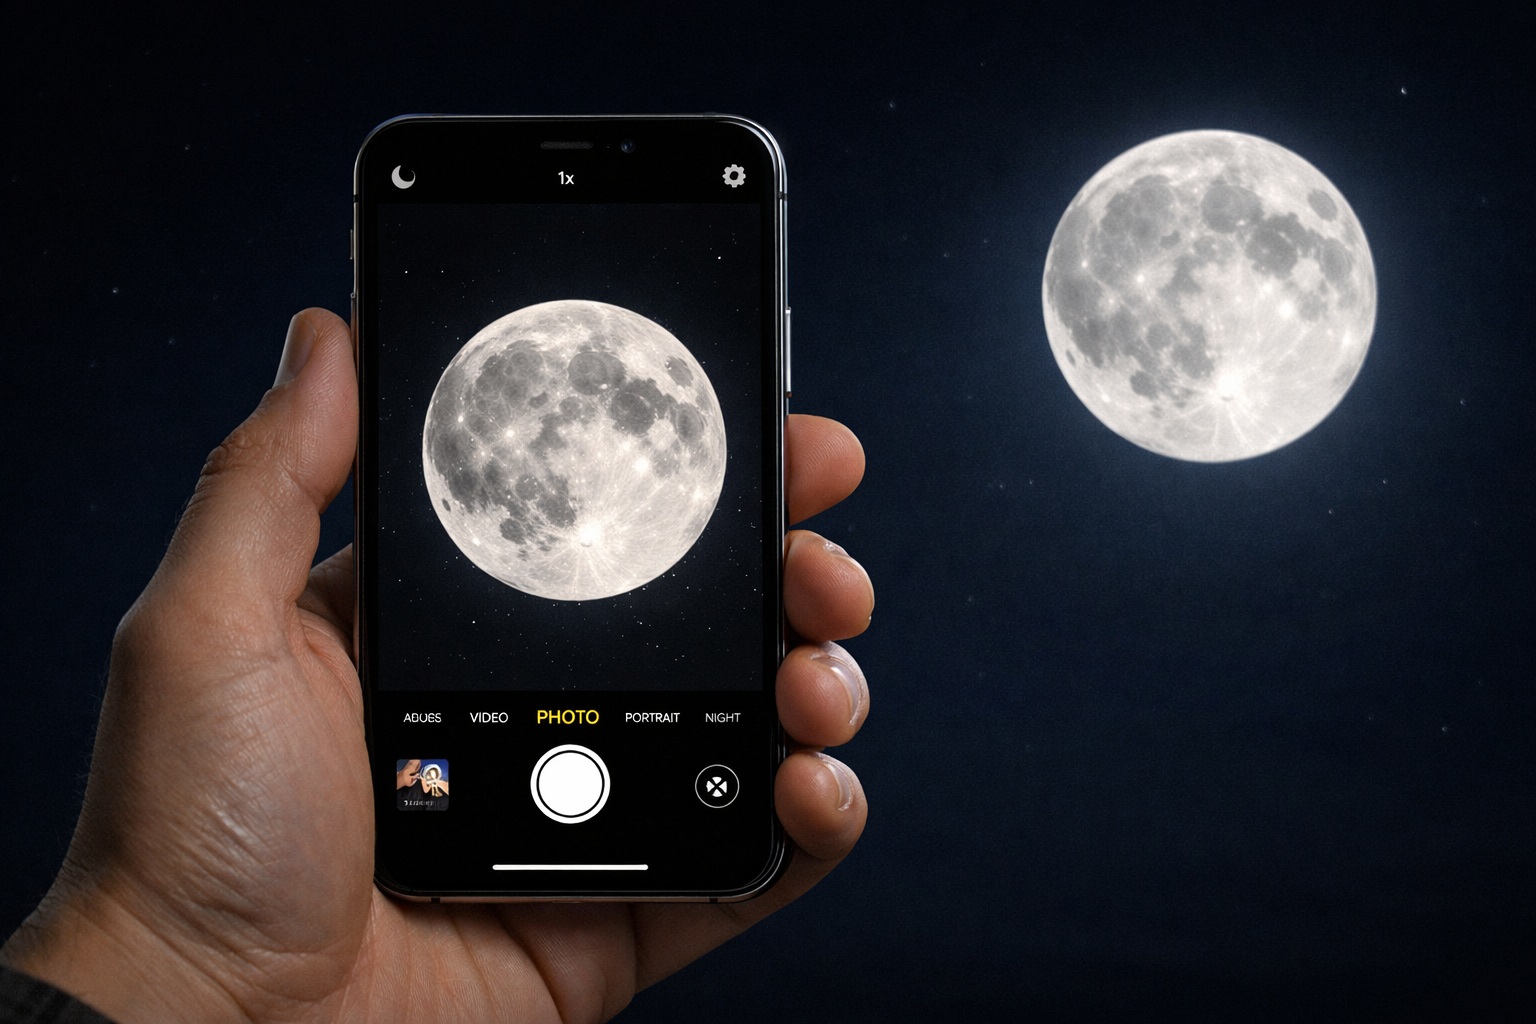
Zoom In: Set the zoom to the highest level your iPhone allows. This helps you see more details of the moon’s surface.
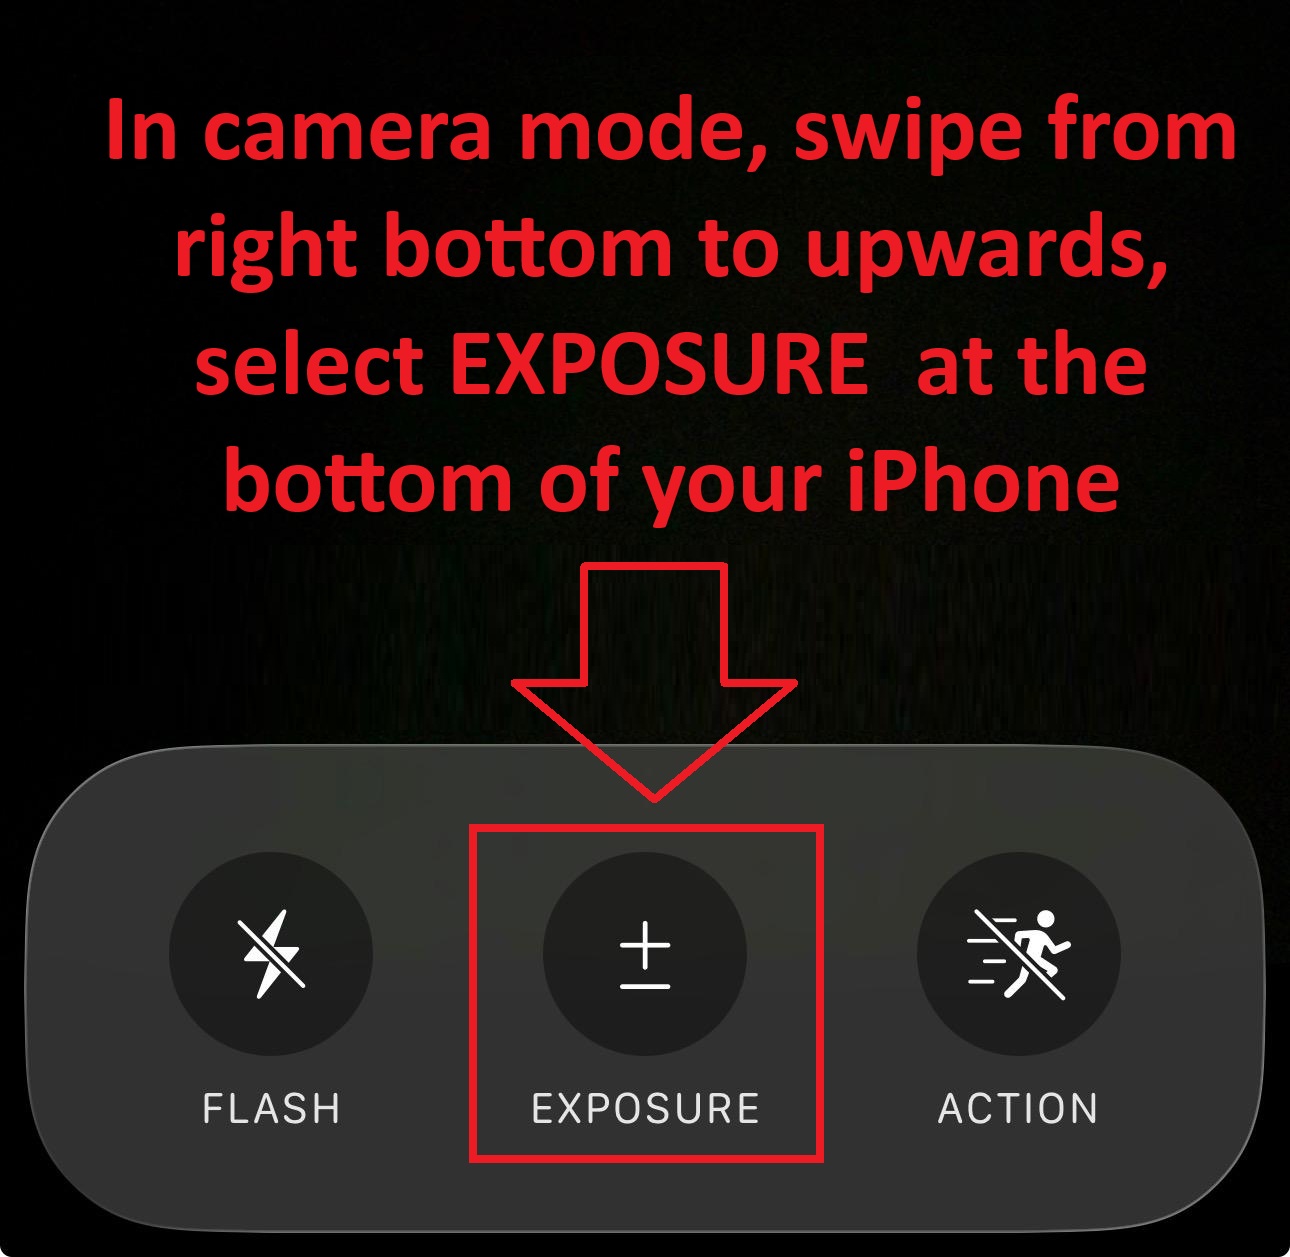
Refocus on the Moon: Tap on the moon to refocus your shot. Lower the exposure by dragging down on the yellow focus square to avoid making it too bright.
Night Mode: If your iPhone has it, use Night mode for better detail in low light. This feature turns on automatically in dark places.
Techniques for Photographing the Moon
Best Times to Photograph the Moon
Timing is very important for taking great moon photos. Here are some of the best times to get a perfect shot:
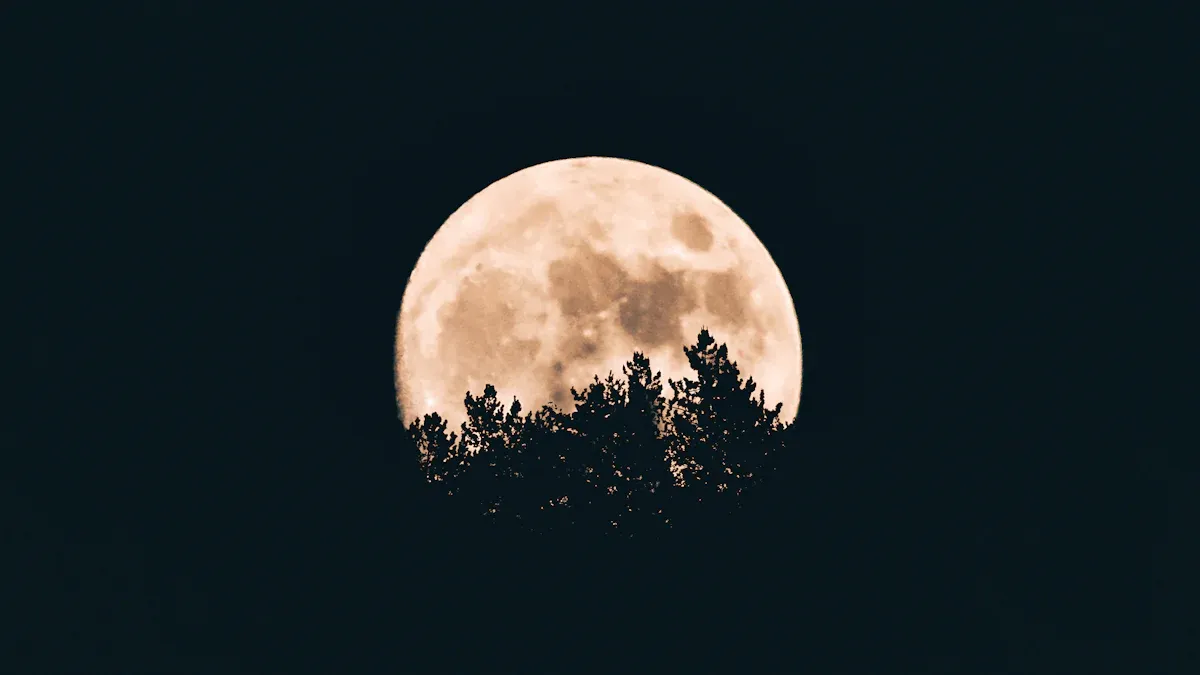
Twilight or Dawn: Taking pictures during these times gives a nice mix of the moon and sky. The moon won’t be too bright, which helps show more detail.
Moonrise: Capture the moon as it comes up over the horizon. It looks bigger and creates a beautiful effect.
Lower Brightness: Focus on the moon and turn down the brightness on your iPhone. This helps avoid a bright image, letting you see more details.
By picking the right time, you can make your moon photography better and get impressive results.
Using Zoom and Focus Effectively
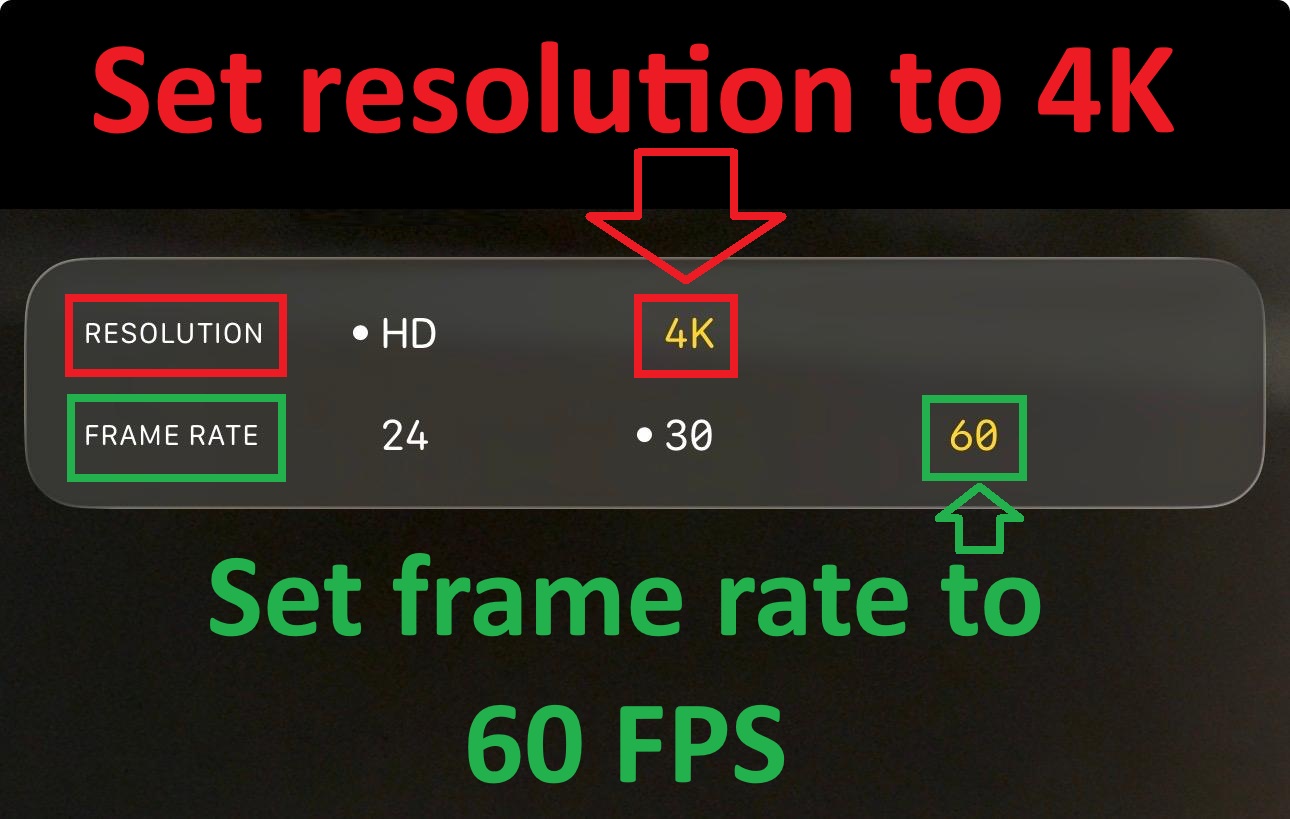
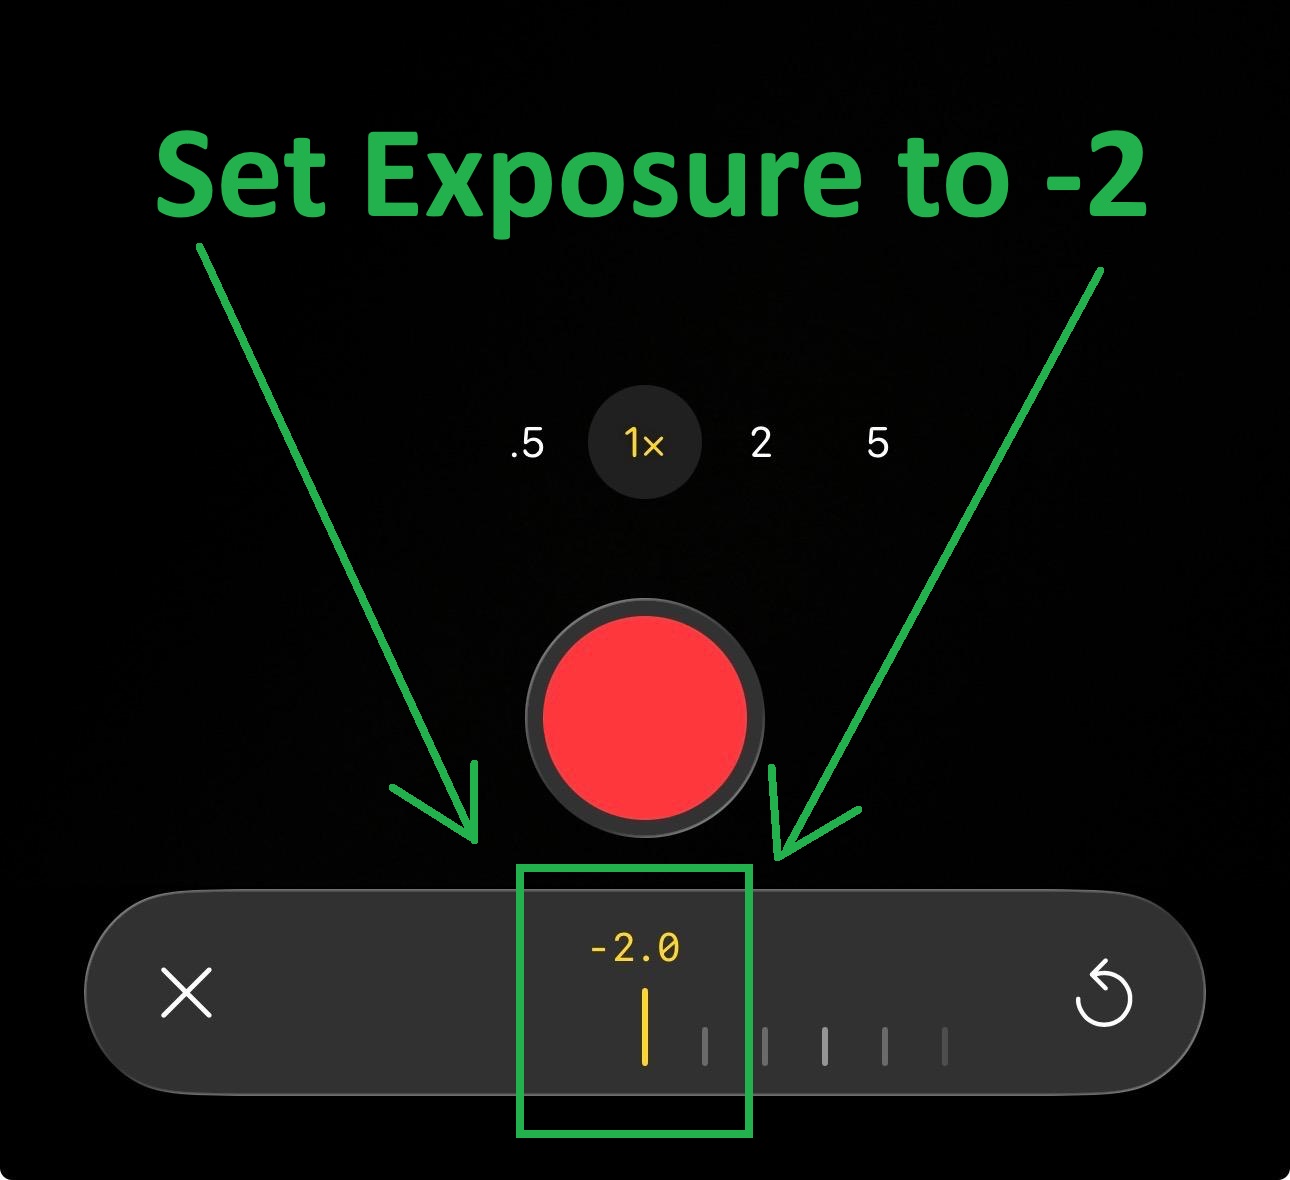
When taking pictures of the moon, using zoom and focus the right way can really help. Zoom in to the highest level your iPhone allows. This helps you see tiny details of the moon’s surface. Also, taking video can be a great technique. Set your iPhone to record in 4K resolution at 60 FPS in the video mode. Start by zooming in and changing the exposure to -2 until you see the moon’s details. Once you have a clear view, click the white button at the right button side of the iPhone to take a photo. This way, you can capture the moon’s beauty in motion and choose the best frame later.
Trying out these techniques will help you get better at moon photography. With practice, you’ll find the best way that works for you!
Enhancing Your Moon Photos
Recommended Apps for Photographing the Moon
To improve your moon photography, try these apps. They can make your smartphone camera better:
YouCam Perfect: This app has AI tools. It reduces grain and sharpens details. It also removes distractions and adds fun filters. This is great for making small or blurry moon pictures look better.
ProCam: This app gives you controls like a DSLR camera. You can change focus and exposure separately. This is important for capturing details of the moon. It also works well in low light and saves images in RAW format for better editing.
Post-Processing Tips for Stunning Images
After you take your moon pictures, editing can help a lot. Here are some good tips to make your photos better:
Adjust Contrast: Increasing contrast helps show details in moon photos. This makes features like craters stand out more.
Increase Sharpness: Adding a little sharpness reveals tiny details. This improves how clear your image looks. Even small changes can make a big difference.
Use AI-based Tools: Programs like DxO PhotoLab and Topaz Sharpen AI can help improve moon images. Topaz Sharpen AI has a one-click tool that gives great results.
Image Stacking: This old technique in astrophotography means taking many pictures and stacking them with software like Affinity Photo. It greatly improves sharpness and detail but needs a lot of processing power.
Try these apps and tips to find what works best for your moon photography. With practice, you’ll create amazing images that show the beauty of the night sky!
Common Mistakes in Moon Photography
Avoiding Overexposure Issues
When you take pictures of the moon, overexposure can ruin your photo. Many beginners forget to change their camera settings for the bright moon in the dark sky. This often makes images look washed-out and lacking detail. Here are some tips to help you avoid overexposure:
Lower ISO: A lower ISO makes the camera less sensitive to light. This helps stop overexposure.
Faster Shutter Speed: Use a faster shutter speed to keep up with the moon’s movement. This keeps your images clear.
Night Mode: If your iPhone has Night Mode, use it! This feature changes exposure time well, capturing more details.
Zoom Lens: Think about using a zoom lens to focus on the moon. This reduces the surrounding sky, lowering the chance of overexposure.
By following these tips, you can capture the moon’s beauty without losing its details.
Ensuring Sharp Focus on the Moon
Getting a sharp focus on the moon is very important for great photos. Autofocus can sometimes have trouble, especially with the bright moon against a dark background. Here’s how to make sure your moon images are clear:
Tap to Focus: Open your iPhone Camera app and frame your shot. Tap the screen where you want to focus. A yellow box will show the focus point.
Check for Blurriness: After taking the photo, see if the area you focused on looks sharp. If not, try adjusting your focus again.
Avoid Small Movements: Even tiny movements can make the moon look blurry. Use a tripod or a stable surface to keep your iPhone steady.
By paying attention to these details, you can avoid common mistakes and capture amazing images of the full moon.
Taking amazing moon photos with your iPhone is a fun adventure! Keep in mind that practicing often can really help you get better. Here are some important points to remember:
Change your settings like exposure and composition to improve your pictures.
Try out different techniques; you might find new ways to capture the moon.
Use best practices to help you succeed in moon photography.
With these tips, you can take great moon photos and make beautiful images. So grab your iPhone, go outside, and start taking pictures of the moon tonight!
FAQ
How can I photograph the moon with a smartphone?
To photograph the moon with a smartphone, use a tripod for stability. Zoom in to capture details, adjust exposure settings, and focus on the moon. Experiment with different times of the night for the best results.
What settings should I use for moon photography?
Set your cell phone camera to a low ISO and a fast shutter speed. Turn off the flash, enable HDR, and use manual focus if possible. These settings help you capture the moon’s details without overexposing the image.
When is the best time to take moon photos?
The best times to photograph the moon are during twilight, moonrise, or when the moon is lower in the sky. These moments provide a beautiful backdrop and help reveal more details in your shots.
Can I use apps to improve my moon photos?
Yes! Apps like ProCam and YouCam Perfect can enhance your moon photography. They offer manual controls and editing features that help you adjust focus, exposure, and sharpness for stunning images.
How do I avoid blurry moon photos?
To avoid blurry moon photos, use a tripod or stable surface. Ensure you tap to focus on the moon and check for sharpness after taking the shot. A steady hand and proper focus are key to clear images.